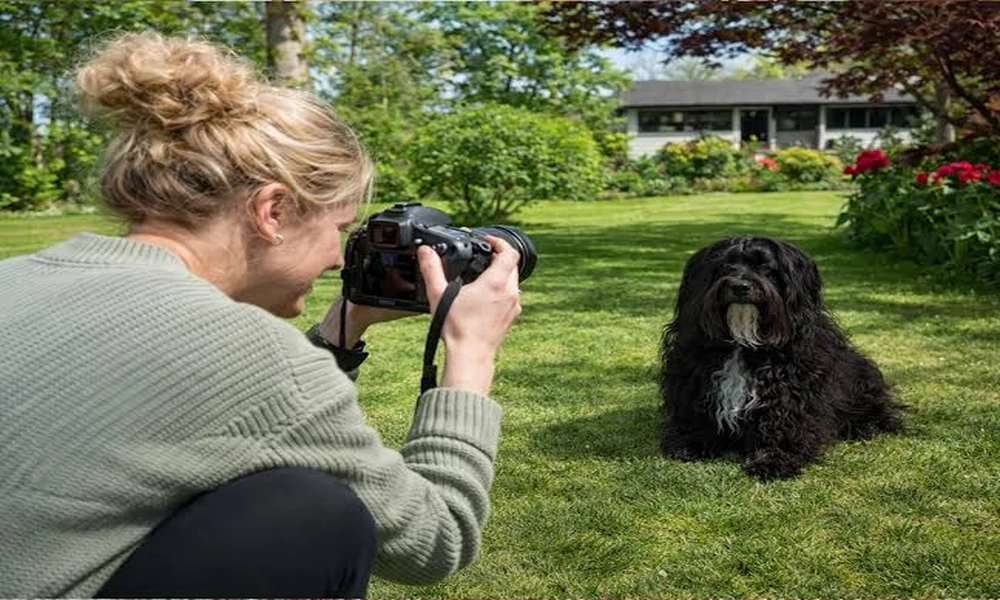
If most of the portrait examples you encounter feature dogs and cats, it can be difficult to picture where your own pet fits. You may be thinking about a bird’s familiar profile, a rabbit’s uneven ear position, or the markings visible on a shell. The details that matter may sit somewhere other than the center of a face.
A useful brief starts with the individual animal. Describe what you recognize in your photographs, decide which features belong in the composition, and ask whether the selected portrait design can accommodate them. You do not need a gallery example that matches your pet exactly to begin that conversation.
Describe the features you would want someone else to notice
Start with a photograph you know well and write a short description without relying only on the animal’s species. “A rabbit” names the subject. “The left ear sits lower in this photograph, and the pale patch stops above the nose” gives someone something specific to examine.
Use four prompts: shape, color, markings, and posture. You do not have to fill every category equally. One pet’s outline may be your main concern, while another’s pattern carries most of the identifying information you care about.
Keep the descriptions tied to what the reference shows. You might note the boundary between two colors, a small area of contrasting feathers, or the way the body is turned in the preferred image. If a color is difficult to judge, label it as uncertain instead of supplying a confident name.
Then choose the three details that matter most. A long inventory can obscure your priorities. Your brief should make it easy to see what you would miss if the artwork simplified too much.
Avoid turning those details into a description of an ideal example of the species. The goal is to communicate this pet’s appearance. An asymmetry or familiar variation in the photograph may be precisely the thing you want retained.
Follow the outline all the way around
A face-centered crop may not include everything important to your portrait. Trace the visible outline of the pet in the reference, paying attention to the features that extend beyond the central area.
For a bird, you might care about the profile of the beak and crest. For a rabbit, it could be the whole ear outline. For a pet shown with a shell, the area of interest may extend across much of the visible body. These are hypothetical composition examples, not instructions about how any animal should be positioned.
Ask which view best serves your own priorities. A front view might emphasize one set of details; a side view might show another. You do not need to combine them into an impossible all-at-once picture. Choose the view that preserves what you most want to see.
Check the edges of the original photograph too. If an important feature extends outside the frame, mark it as missing reference information. Giving the artwork more space is different from having a clear view of what should fill that space.
A simple outline note can help: “Please keep the full visible crest within the composition.” Whether that request fits the design is a separate question to confirm before ordering.
If you have two promising views, give each a short label describing its advantage. One might be “shows the familiar profile”; the other, “shows the pattern across the body.” This lets you explain why you prefer one without dismissing the useful information in the other. You can keep the second as a supporting reference while asking whether the first provides a suitable starting composition.
Use existing photographs with clear roles
Review the photographs you already have before thinking about new ones. Choose a main reference for the view or posture you prefer, then identify any supporting image that answers a particular question.
For example, one photograph may show the pose you want while another gives a clearer view of a patch of color. Label those roles. Otherwise, a set of different views can leave the maker uncertain about which image should guide the finished picture.
Use the pet’s own photographs to explain individual features. An image of another animal may help you describe a general artistic approach, but it should not silently replace information about your pet’s appearance.
Keep dates or appearance differences in mind when selecting supporting images. If two photographs represent noticeably different periods, explain which appearance you want. If you are unsure whether a visible difference comes from the photograph or from the pet, say so.
Pawfolio’s photo guide provides a starting point for preparing reference images. If the examples do not resolve a question about your particular pet, ask about the intended file and design instead of assuming the same example covers every situation.
This planning exercise can be done with your existing images and notes. There is no need to make an animal hold an unfamiliar pose simply to imitate a portrait example.
Match the brief to an actual design
Once the reference is clear, consider how much interpretation you want. You may prefer the pet’s familiar appearance against a quiet background, or you may be interested in a more imaginative treatment. Either way, keep your identifying details beside the design options.
When looking through Pawfolio’s pet portraits, use the displayed designs as starting points for a specific question. Explain the animal, the reference view, and the feature that needs room. Confirm whether the particular design is suitable before selecting it.
A site offering custom pet portraits does not mean that every layout, costume, or composition will suit every reference. Broad interest in different pets and suitability for a specific design are separate matters. Ask about the latter directly.
You can narrow the question by naming the tradeoff. “I like this design, but keeping the complete ear outline matters more to me than filling the space above the head” gives a clearer preference than “make it work for a rabbit.”
If the proposed layout would hide your most important detail, consider another design. You are choosing artwork around a particular pet, so the example should help you communicate rather than become a shape the pet must be forced to fit.
Make a brief that works for any pet
Use five short lines to gather the decision:
- Main reference: Identify the file and the view you want it to establish.
- Three identifying details: Name visible features you would like preserved.
- Preferred emphasis: Explain whether the face, outline, markings, or posture matters most.
- Supporting information: State what any additional image is meant to clarify.
- Open question: Identify the design or reference issue that still needs confirmation.
A hypothetical bird portrait brief might prioritize the side profile, a particular patch of color, and the full crest. A brief for a different pet could use the same five lines while naming entirely different details. The framework stays useful because it begins with observation rather than a standard dog-or-cat checklist.
Read your note once without looking at the image. Is anything too vague to locate? Replace “beautiful colors” with the particular area you mean. Replace “show character” with the visible expression or posture you want represented.
Then check the note against the photograph. Remove any instruction that relies on an unseen feature unless you have explicitly marked it as a question.
Keep the individual at the center
Pet portraits from photos begin with information about a particular animal, not just a category. The most useful preparation is to identify what is visible, explain what matters, and make room for questions about the chosen design.
Whether your pet has feathers, fur, scales, or a distinctive shell, the brief can stay simple. Provide a clear starting image, a few recognizable details, and one priority for the composition. Let those observations guide the next conversation about the artwork.